Installing Ubuntu Linux on the Lenovo ThinkPad E14 Gen 2 (AMD)
I bought myself a cheap ThinkPad. Although not officially supported for Linux it was pretty easy to get going. It installed fine with Ubuntu 20.04, only requiring a newer kernel version to be installed.
Details:
Lenovo ThinkPad E14 Gen 2 (AMD)
Model Type Number: 20T6-0008AU
CPU: AMD Ryzen 5 4500U (6C / 6T, 2.3 / 4.0GHz, 3MB L2 / 8MB L3)
Notebookcheck review
Pages with more info:
Step by step instructions
Part I: Windows prep
This laptop comes with Windows 10 Home. A few things are needed before installing Linux. A lot of info I used came from here.
- Run Lenovo Vantage and do a System Update.
- Update BIOS from support site (v1.08 was latest at the time) — this step may have already been handled by the System Update above, not sure
- Disable fast startup
- Turn off BitLocker encryption with Start menu > Device Encryption > Turn Off. See discussion here.
For the next part you’ll need a bootable Ubuntu USB stick. I set up my USB stick from Linux but you can do it from Windows too. See Create a bootable USB stick on Windows. You’ll want to download Ubuntu from the release site and use the 64-bit PC (AMD64) desktop image.
Part II: BIOS
- Reboot and press F1 to enter the BIOS menu.
- Disable Secure Boot.
This should be unnecessary with versions of Ubuntu after 20.04 as we only need this to install a newer kernel. Future versions of Ubuntu should ship with a recent enough kernel out of the box.
Part III: Ubuntu install
- Reboot and press F12 to choose the boot device. Choose USB HDD to boot from the USB stick.
- Run the installation. Use normal installation options but choose the following options:
- Install third party drivers. Probably needed for wifi?
- Install alongside Windows.
- Reboot after installation when prompted.
- Install system updates when prompted.
- Reboot again when prompted.
Part IV: Kernel upgrade
Download mainline kernel script: ubuntu-mainline-kernel.sh
Install new kernel.
sudo ./ubuntu-mainline-kernel.sh -iI have verified this works with:
- 5.8.10-050810
- 5.11.0-051100
Optionally download the AMD HDCP firmware binary. (You can probably use Ubuntu’s AMD drivers for this, but I did it manually.)
$ cd /lib/firmware/amdgpu/
$ sudo wget https://git.kernel.org/pub/scm/linux/kernel/git/firmware/linux-firmware.git/plain/amdgpu/renoir_ta.bin
This will fix up kernel messages like:
amdgpu 0000:04:00.0: Direct firmware load for amdgpu/renoir_ta.bin failed with error -2
amdgpu 0000:04:00.0: amdgpu: psp v12.0: Failed to load firmware "amdgpu/renoir_ta.bin"
Reboot and verify the kernel version with
uname -a.
Other than the kernels listed above, there were some kernels that didn’t work well for me:
- Ubuntu 20.04’s 5.8.0 HWE (“Hardware Enablement”) kernel unfortunately didn’t work
- Some later 5.8.x kernels after 5.8.10 (sorry I didn’t write down the versions)
Part V: Workarounds
Two workarounds are required for use:
System needs to sleep once to get function keys working
From then function keys works normally until rebooted again.
Edit the crontab.
$ sudo crontab -eSet a command to put the system to sleep for 2 seconds and wake it again on every boot.
@reboot sudo rtcwake -m mem -s 2See:
Wifi power saving needs to be disabled
The Realtek wifi adapter is a bit flaky. In normal power saving mode it sometimes doesn’t work after a sleep. So we just disable power saving. I haven’t checked what impact this has on power usage.
Here’s the model controller I have. It may vary.
$ lspci
03:00.0 Network controller: Realtek Semiconductor Co., Ltd. RTL8822CE 802.11ac PCIe Wireless Network Adapter
Update the power saving settings:
$ sudo nano /etc/NetworkManager/conf.d/default-wifi-powersave-on.confEdit the file to look like this:
[connection]
wifi.powersave = 2
Restart a service to pick up the new settings:
$ sudo systemctl restart NetworkManagerThis change only needs to be done once; it will be picked up automatically on each restart.
See:
Part VI: Ready for use!
With these two workarounds, the system is now ready for use.
What works and what doesn’t
Here’s a quick summary of what works and what doesn’t.
CPU - works fine for me. No need for throttling workarounds as described here and implemented here. I think the ThinkPad throttling issues is Intel only.
To verify I ran Geekbench 5.2.3 and got the following results which seemed in the ballpark:
- Battery power results - single core: 692, multi core: 2620
- AC power results - single core: 1115, multi core: 3765
Update 19 February 2020 with Linux 5.11.0 and Geekbench 5.3.2:
- AC power results - single core: 1136, multi core 4302
For comparison NotebookCheck got single core: 1108, multi core: 4618. There may be a drop in multi core performance based on this so I should probably investigate by running the benchmarks again and on Windows.
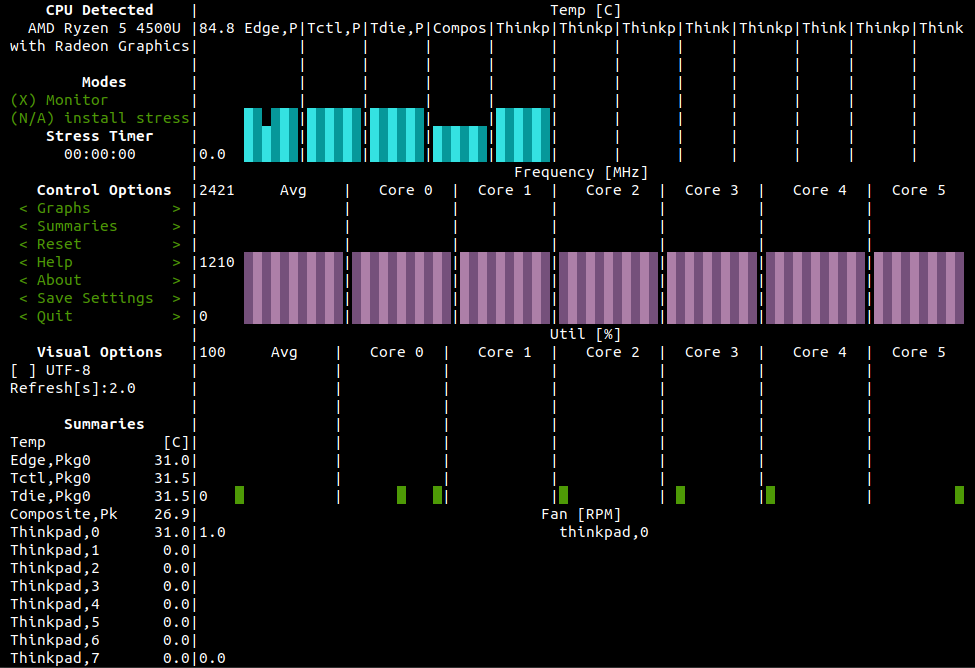
During the testing I monitored CPU usage and temp with s-tui.
apt install s-tui
s-tui
Here’s what it looks like while idle on battery.
Wifi is reliable after disabling its power saving as discussed in the workarounds section above.
Function keys work fine once the system has been suspended manually, as discussed in the workarounds section above. Brightness, volume, keyboard backlighting - all work. FnLock doesn’t work but that’s fine with me.
Bluetooth - not checked yet, but apparently fine.
Fingerprint scanner - not supported yet.
$ lsusb
Bus 003 Device 002: ID 27c6:55a4 Shenzhen Goodix Technology Co.,Ltd. Goodix FingerPrint Device
There is a bug report to add support for this device if anyone wants to contribute.
Battery - seems good. I was able to use the ThinkPad battery health settings.
See:
# Command line
sudo apt install tlp
# Manual vars
START_CHARGE_THRESH_BAT0=65
STOP_CHARGE_THRESH_BAT0=80
# Verifying
sudo tlp-stat -s # see if running
sudo tlp-stat --config # dump config
# UI
sudo add-apt-repository ppa:linuxuprising/apps
sudo apt install tlpui
External monitors - have successfully used DisplayPort over USB-C to get 4k @ 60fps.
RAM is OK but may be a bit too low, depending what you’re doing. It’s easy to upgrade. I ordered a 16GB DDR4 SODIMM and installed it in spare slot. This brought the laptop up to 24GB of RAM, which is a lot better.
Schematics for the laptop are available here. Check out the section Memory shield and memory module for a picture.
All in all it was a fairly smooth experience with the main difference to a vanilla Ubuntu install being the kernel update. In future versions of Ubuntu this probably won’t be needed, as they’ll ship with newer kernels already.
Updated 11 January 2021
- Added more info about suspend and kernel versions.
- Added workaround for wifi.
- Added a note about installing more RAM.
Updated 19 February 2021
- Use kernel 5.11, note about kernels that don’t work, download AMD firmware.
- Automatic sleep instead of manual sleep to fix up function keys.
- Note about success with external monitor.
- Added some links.